Carré

From square to circle: geometric figure

A graphic envelope forms as a line moves by a precise rule, creating an elegant curve connecting its successive positions. Applied to a square, the line slides along its sides, pivoting at each corner. This playful method explores geometric shapes, sparking the imagination of younger minds. It also boosts creativity, making it perfect for beginners in string art. In this article, we guide you step by step to create a square envelope with a 12 cm square.

carrée

Article Summary:

To make our figure, we need:

Materials: pencil, eraser, ruler and paper.

First step: Draw a square

Second step: Graduate and orient the square.

Third step: Understand the basic process

Fourth step: Reproduce the process in the square.

1 - The right equipment for the square

Whether you’re a fan of pencil and paper or passionate about technology, countless tools are at your disposal! For a hands-on approach, simply draw your square (envelope) using a pencil, eraser, ruler, and paper. If precision is your priority, design software like Illustrator, Photoshop, Clip Studio, or Inkscape offers versatile options. Additionally, dynamic geometry tools like GeoGebra or Cabri enable real-time transformations, deepening your understanding of mathematical concepts. Lastly, programming with tools such as Python (matplotlib) or Processing allows for unique and highly personalized creations.

2 - Making the square

... Step 1: Draw a 12 cm square

To begin this task, it is essential to draw a square. This shape was wisely chosen for its simplicity, making initial constructions straightforward while clarifying the steps. With 12-centimeter sides, the square is practical for these exercises. To enhance understanding, consider coloring its four sides in different shades or labeling them as A, B, C, and D. Whether done manually or using digital tools, these visual aids greatly simplify the following steps!

... Step 2: Scaling the square

After drawing the square, the next step is to mark graduations. Place 24 equidistant points along each side, labeling them from 0 to 12 based on the square’s midpoints. Additionally, maintain a 0.5 cm gap between each division. Moreover, for all sides of the triangle, it is vital to choose a direction of movement. For instance, you might decide to move the square from right to left.

... Step 3: Understanding the basic process

Our envelope will gradually take shape. Let’s repeat this simple action: start by connecting points with the same number on the red and purple sides—1 with 1, 2 with 2, 3 with 3, and so on, up to 12 with 12. It’s like assembling puzzle pieces, but with lines!

... Step 4: Reproduce the process in the square

Repeat the process by connecting corresponding points on consecutive sides: blue to red, then red to green, and finally green to purple. It is essential to follow the initially defined direction to avoid confusion. At each step, the envelope takes shape, with segments linking together like pieces of a puzzle!

3 - Exercises around the square

To expand our geometric explorations, why not add a touch of creativity? Imagine using a square again, but this time with 20 cm sides. By connecting the points, you could create even more intricate patterns. Furthermore, stepping beyond traditional shapes, you might experiment with rectangles. How about rectangles where the length is twice the width? The possibilities are endless! Additionally, for a unique touch, try diverse colors or threads wrapped around a wooden frame. As a result, geometry becomes a playground where imagination knows no bounds. So, are you ready to uncover fresh creative perspectives?

4 - Envelopes and shapes :

Complex and captivating curves can be designed using basic shapes like triangles, squares, or circles. Behind each envelope lies a world of geometric concepts such as rotation, tangency, or the envelope itself. This activity is more than just fun; it transforms abstract ideas into tangible realities, making mathematics more appealing. Furthermore, the variety of possible shapes and the aesthetic design of the results make this method a true catalyst for imagination. Whether with paper, tools like GeoGebra, or more traditional instruments, exploring envelopes opens the door to a fascinating and endless mathematical world!

Did you like this useful article? Like it and share it with others!

generative art: from discovery to creation.

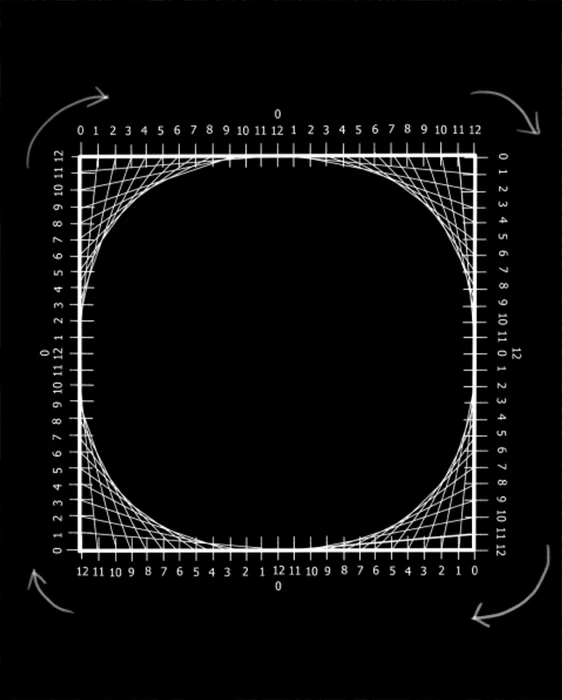
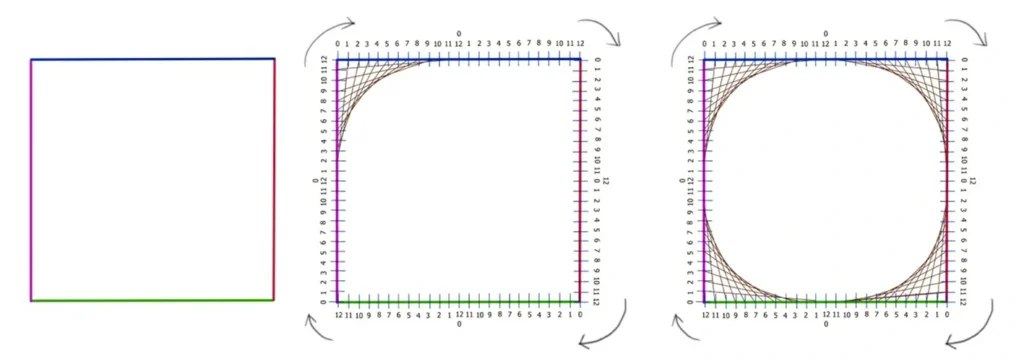
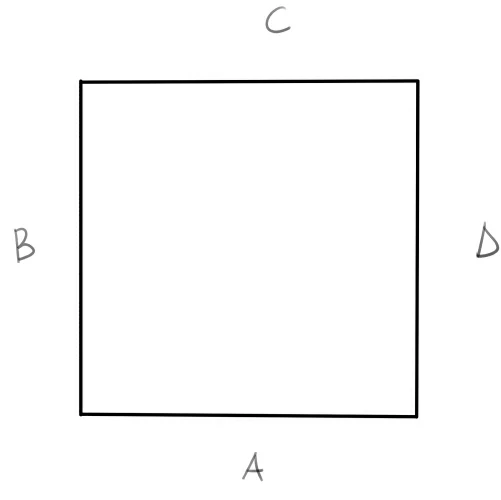
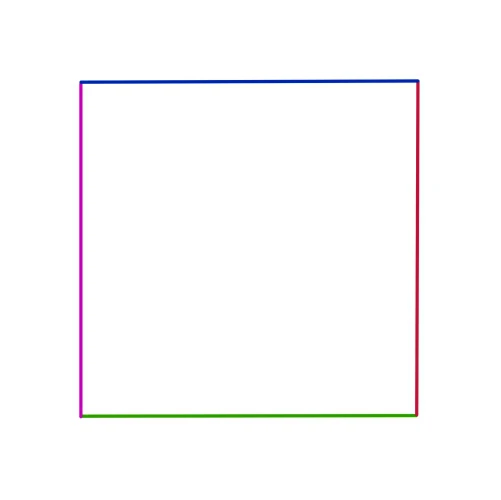
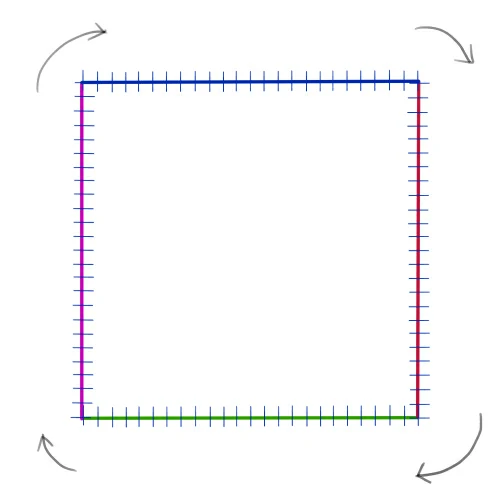
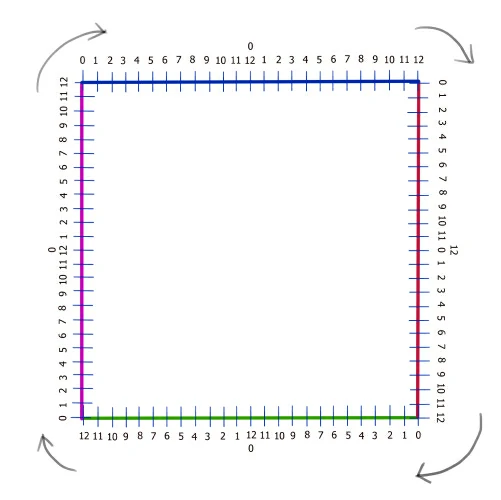
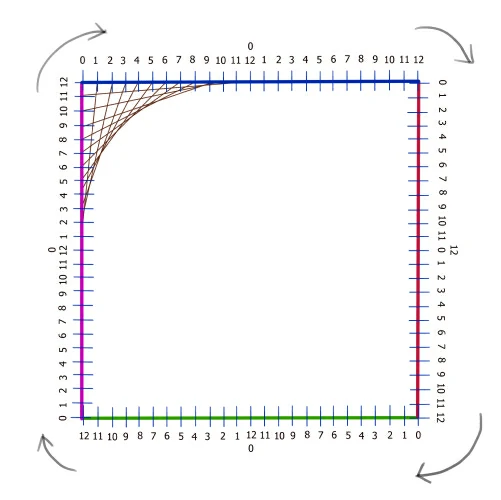
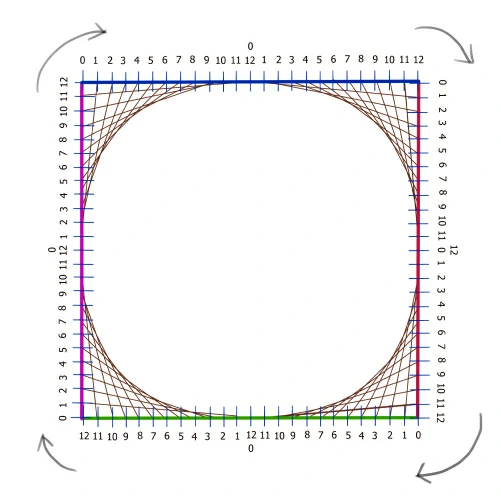
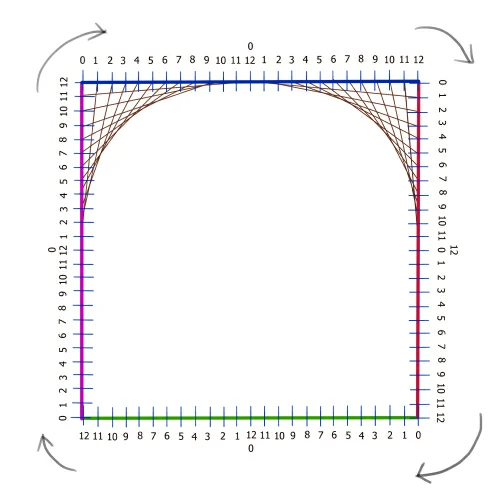
generative art: from…

One fascinating aspect of digital art is generative art. It uses computer programs to create works of art on its…
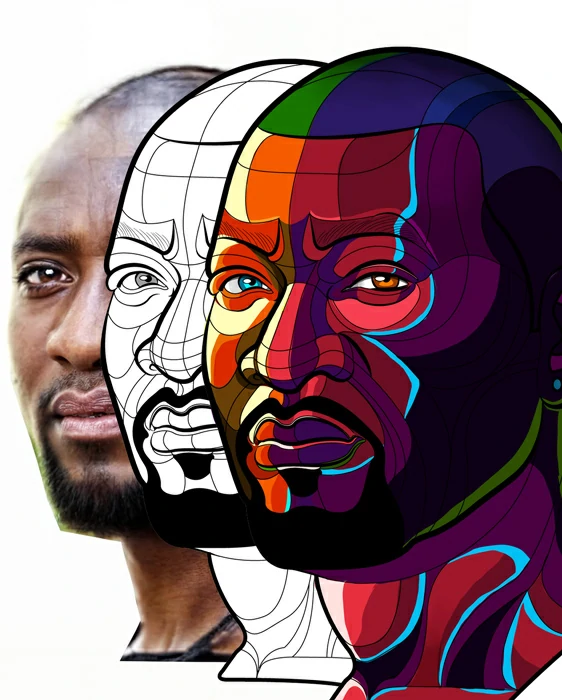
Why order a portrait?

Why order a…

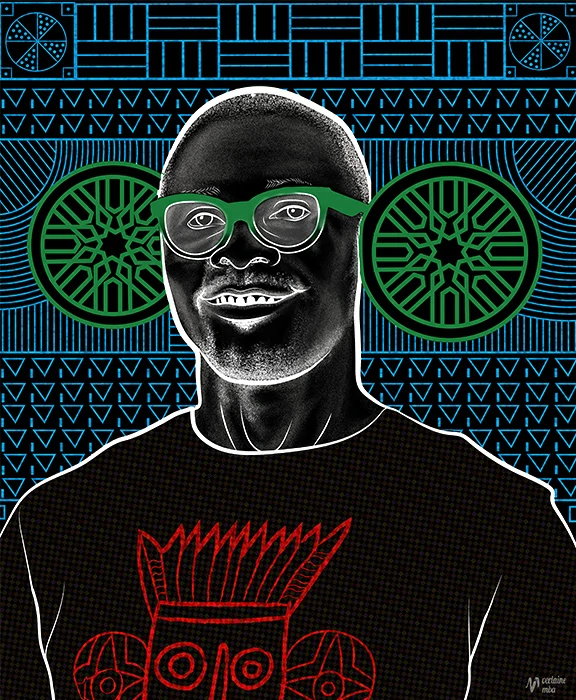
Who wouldn’t want to get a portrait that captures the very essence of who they are? A portrait transcends a…

Digital art gallery in Cameroon

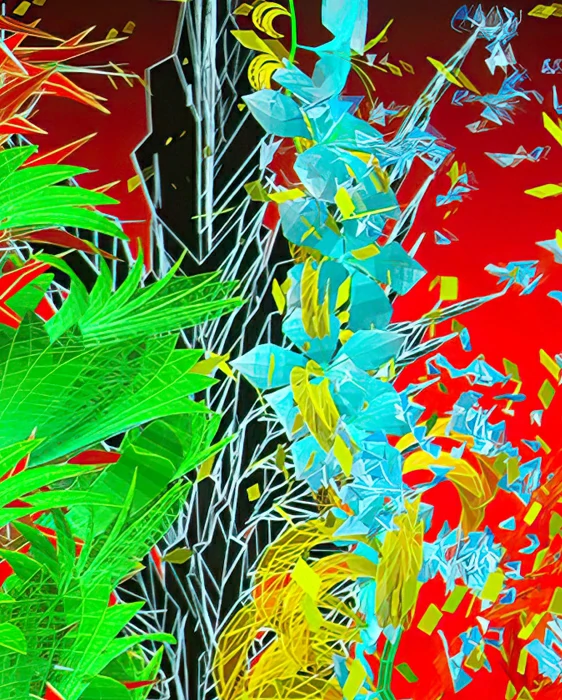
Digital art gallery…

Digital art, born from technological advancements, has reshaped global artistic landscapes. While the West pioneered this movement, Africa, particularly Cameroon,…

Sally Photo de l artiste Mba verlaine pour article a ecrire

Author

I’m Mba Verlaine, a passionate Cameroonian artist sharing insights on African culture, arts, traditions, and topics close to my heart.